January 13, 1943. Tunisia, west of the Atlas Mountains
Near an important crossroads on the US 168th Infantry Regiment's right flank was a small, abandoned dwelling. Three days earlier, Sarge's section (members of Fox Company's Fifth Squad) completed a patrol and skirmished with a small group of Deutsche Afrika Korps soldiers that had been using the house as a staging point. That skirmish sent three of Sarge's men to the hospital; two of them were severely injured and were being sent back to the States. Still, they all of the American GIs survived the battle, and they had taken two of the Jerrys prisoner for interrogation by the battalion's intelligence staff. The brass was happy with their accomplishments, and unit morale was high.
Still, no good deed goes unpunished...
Now, Sarge's men were being sent back to secure the dwelling. No longer just a patrol, the mission now was an assault to take and hold the objective. The sections numbers had thinned out, but at least they would have some mortar support this time...
This will be my second game of Five Men from Normandy (.30 Caliber Edition) by Nordic Weasel Games. Son #4 and I played the first game on Christmas Eve and had a lot of fun.
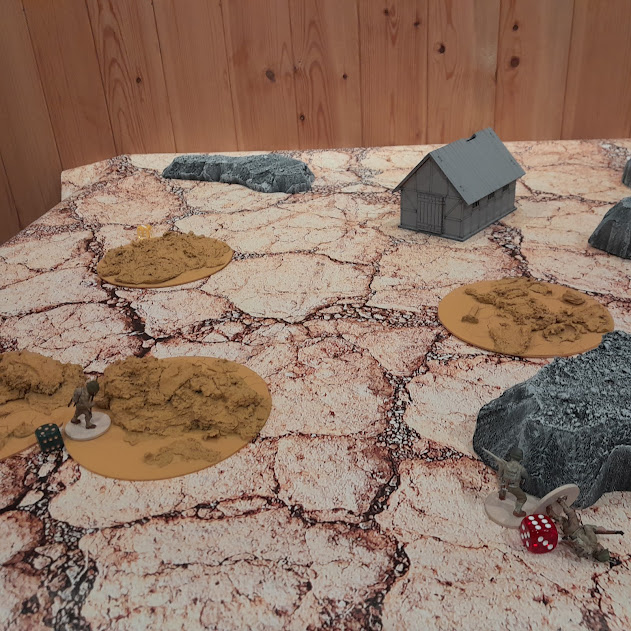
Sundstrom, Sarge with and SMG and a trench knife, Sutton, Rasmussen, and Clay kneeling with his sniper rifle move within sight of the building and take up cover behind a low rock formation. They spot a DAK patrol a hundred or so yards away also taking cover behind a rock formation. The DAK opposition that I rolled up consists of 4 riflemen, 1 pistol armed figure (I didn't have any pistol armed Germans, so I am proxying with the gray uniformed figure in the very middle of the DAK formation), 1 MP40 SMG, and 1 MG42 LMG.
Our GIs are outnumbered against the DAK. (Part of why they are outnumbered is because after the first mission of the campaign we rolled a campaign event indicating that the war effort has been going badly for our battalion generally.) Being outnumbered is never a good sign for the attackers. But orders are orders, and hopefully the mortar support will be a difference maker.
The mortar crew is set up off board in this rule set. In order to act as a spotter, any one of the US figures must either be within six inches of their starting edge or on an elevated terrain feature. I'm going to use the heavy mortar rules (6 kill dice and 4 inch radius instead of 5 kill dice and 3 inch radius), because I think these GI's are going to need it and it seems reasonable that heavy support would be deployed to help seize this objective. The spotter selects a target location (presumably within line of sight) in one turn and the incoming fire comes in the next turn. Then we roll 1D6 for the mortar's effect (whether the rounds land on target or not).
Since the Americans are outnumbered, my initial strategy is to try to stay at range, keeping our heads down, and make maximum use of that mortar to soften up the DAK. However, our orders are to seize the building, not obliterate it. So, we won't want to call in any rounds too close to the building because if the rounds drift and we destroy the building, then we are not going to be facing a very happy captain back at HQ.
So on the Americans' first turn, they primarily keep their heads down behind cover, but also call in a mortar strike aimed at the center of the rock formation right in front of the DAK patrol.
The green D20 marks the location where the Americans have called in the mortar fire for their next turn. On the Germans' turn, half of their formation starts running for the building. (In Five Men from Normandy, the activation rules require a roll at the beginning of a turn. The most common result is for half of your force to activate that turn.)
At the end of the Germans' first turn, their LMG gunner has made it into the residence. One of the riflemen has made it to cover behind the building. However, the officer with the pistol and the second riflemen are still out in the open, running to the building. The NCO with the SMG and the final two riflemen are still crouching behind the rock formation. They are hoping the mortar fire will be off target!
At the beginning of the Americans' second turn, they roll for mortar results. Good news for the DAK: the mortar round drifts off target. Bad news for the DAK: it drifts right into their laps!
After rolling for damage, both of the riflemen are out of the fight. The NCO with the SMG is knocked down, with a serious ringing in his ears.
The American patrol opens up with rifles on the DAK figures that have not yet made it into or behind the building. The rifleman is hit bad, clearly out of the fight. The officer with the pistol is knocked down, still out in the no man's land between the rock formation and the building.
I used the green fives to represent Americans who had poked their head up over the terrain and were at risk of return fire. So far, I like the way Five Men handles cover rules.
On the Germans' Turn Two, the NCO and the Officer both managed to shake it off and get back up on their feet. Then the LMG gunner took up a firing position in the doorway of the residence. (I may have given the Germans one too many activation here.) He fired a quick spray at the Americans, forcing Clay to Hunker Down. I would learn that it is very hard (impossible?) to score a kill on a figure in cover. It seems like you can stun them but not kill them? I will need to review the rules again more carefully later.
On the Americans' Turn Three, the mortar fire drifts, but not far enough for the DAK NCO. He's hit and out of the fight. Then Rasmussen fires his rifle and eliminates the German officer outside of the house.
On the Germans' Third Turn, both of their remaining models are in the house, firing at the Americans from the doorway. Since the Americans are behind heavy cover, there are no casualties, but several Americans are forced to hunker down. At the beginning of the Americans' fourth turn, Sarge runs over to try to rally Sutton, Rasmussen, and Clay.
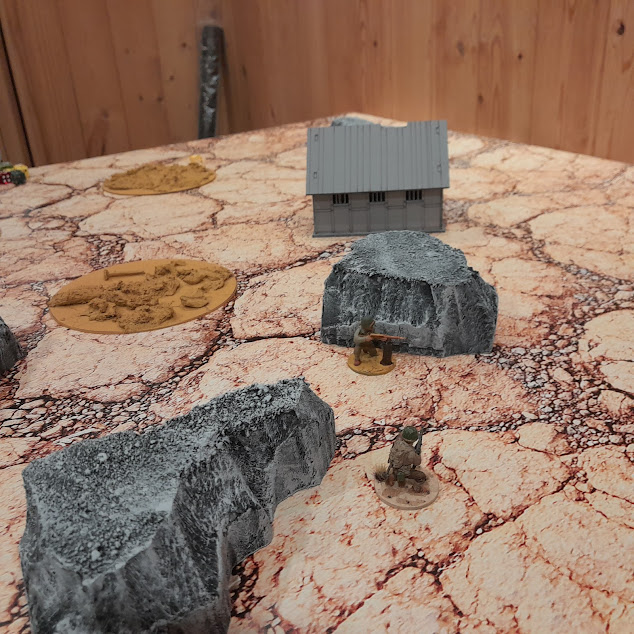
None of the Americans are peering over the rock formation, so the Germans hold their positions ready to take a guard shot when the Americans break cover. On the Americans next turn, Sarge and Clay are able to dash to the next rock formation, spreading out laterally, but still advancing on the house. The Americans are hoping to get in position to catch the two remaining Germans in a crossfire. (I don't recall if I rolled a Scurry result for the turn, allowing the Americans to advance without attracting reaction fire or if the reaction fire just missed.) Sundstrom also makes a break for this next rock formation, but he isn't quite able to get behind cover before the Germans' next turn.
On the Germans' next turn, the LMG opens up on Sundstrom. He's hit and goes down hard. He's out of the fight: the first American casualty today. On the Americans' next turn, Sutton is able to dart out from cover and pull Sundstrom into cover so that Sundstrom isn't just lying there as a bullet magnet in the open. These American GIs are a tight band; they don't leave anyone behind.
Clay and Sarge keep advancing, moving from cover to cover, and flanking the German position.
Part Two coming up soon!


No comments:
Post a Comment